I decided to try Gatsby and upload a blog (this blog :) in Amazon S3.
Gatsby is a “React Server Side” rendered site basically a Static Website Generator (SSG)
Instead of running on a Server, you build a site locally and then upload to any server (like a hosted S3 Account)
Why Gatsby? I have installed so many wordpress site and I want to build something light, fast, without a lot of plugins and external tools. That’s why I start searching about SSG generator.
I found this generator and give it a try.
Steps
0- Check the current version of node. It has to be more than 12 (otherwise change with nvm the current version)
1- Install gatsby
npm install -g gatsby3- Install the starter blog template (if you want to build a blog or a website)
gatsby new gatsby-starter-blog https://github.com/gatsbyjs/gatsby-starter-blog4- After it download, open it in VS Code (or your prefered editor)
5- Try to open the webserver in development mode
gatsby developOpen the browser at port 8000
6- Try a first build
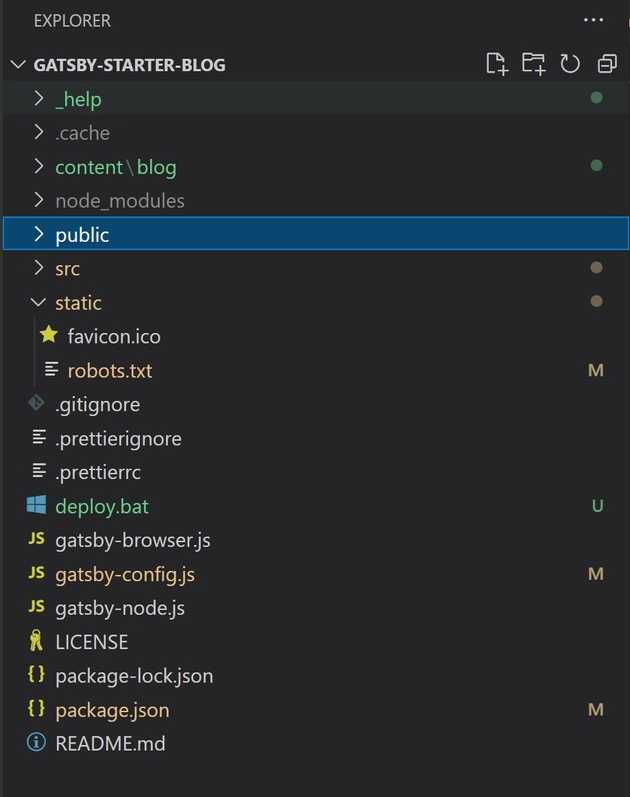
gatsby buildYou will see a public folder created in the project
Edit the content
Adding SEO
It’s great that this template (github repo) has the seo component already there.
Reference: https://www.gatsbyjs.com/docs/add-seo-component/
1- Go to gatsby-config.js and edit the global SEO tags (title, description)
2- Each .md has a title and description to change (in content folder)
3- Blocking Google and other crawlers.. (to hide your site for now)
Edit robots.txt and change to
User-agent: *
Disallow: /
Deploy to S3
1- First build the gatbsy with gatbsy build or npm run build
2- Configure aws:
Install aws cli
Run aws configure (to set your api keys)

This will create a file named credentials
3- Deploy with aws cli
I tried first gatsby-plugin-s3 but I had some issue with permissions (not sure if the issue was because I had 2 aws accound). I found it was more easy to use the aws cli command
aws s3 sync --acl public-read --profile {profile-name} --region us-east-1 --delete public/ s3://{bucket-name}Change there the profile-name or remove that if you only have one profile and change also the bucket name
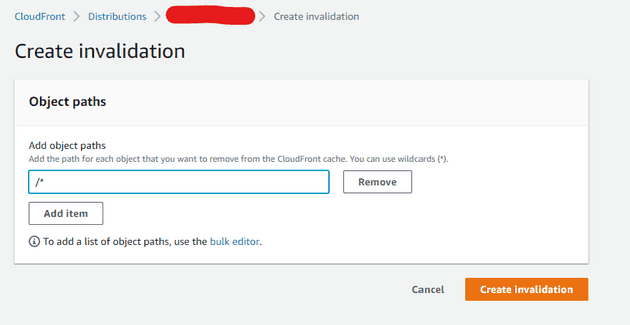
After doing that all you can test the site doing a manual invalidation (This is optionally you can invalidate the cloudfront so all content is wiped out)
4- Grab the ID of your cloudfront
5- Call invalidate command with your cloudfront id
aws cloudfront --profile {profile-id} --region {region} create-invalidation --distribution-id {cloudfront-id} --paths "/*"Replace there the profile id, region and the cloundfront ID.


